Convert a Numpy Array to Image in Python
 By Mohan Sai Varun Kasarla
In this tutorial, you will learn how to Convert a Numpy Array to Image in Python. Here, we are going to use the Python Imaging Library ( PIL ) Module and Numerical Python (Numpy) Module to convert a Numpy Array to Image in Python. PIL and Numpy consist of various Classes. We require only Image Class. Hence, our first script will be as follows:
from PIL import Image
import numpy as np
Here, we have imported Image Class from PIL Module and Numpy Module as np. Now, let’s have a look at the creation of an array.
w,h=512,512     # Declared the Width and Height of an Image
t=(h,w,3)       # To store pixels
# Creation of Array
A=np.zeros(t,dtype=np.uint8)   # Creates all Zeros Datatype Unsigned Integer
Let’s have a clearer Explanation here,
Tuple t indicates the matrix order “h x w x 3” where w,h is the height and width of an Image, 3 indicates the three colors per pixel [R, G, B].
Also, read: Find the most frequent element in NumPy array in Python
Structure of Array:
So, lets have a look at the structure of the specified array for converting it to Image. It is as follows
A= [ [R00, G00, B00], [R01, G01, B01], [R02, G02, B02], …, [R0(h-1), G0(h-1), B0(h-1)]
[R10, G10, B10], [R11, G11, B11], [R12, G12, B12], …, [R1(h-1), G1(h-1), B1(h-1)]
” ” ” ”
” ” ” ”
[R(w-1)0, G(w-1)0, B(w-1)0], [R(w-1)1, G(w-1)1, B(w-1)1], …, [R(w-1)(h-1), G(w-1)(h-1), B(w-1)(h-1)] ]
I think it might be complex to understand. But, it consists of [R,G,B] of each pixel of an Image. Now, lets have a look at assigning colors to the Image.
for i in range(h):
    for j in range(w):
        A[i,j]=[i%256,j%256,(i+j)%256]    # Assigning Colors to Each Pixel
So, Our new Pixel will be [i,j,i+j] where, i iterates through the Height and j iterates through the Width of an Image. i.e. Red -> i%256, Green -> j%256 and Blue -> (i+j)%256.
Each Color of Pixel is Modular Divided(%) by 256 since the RGB Color Model holds the highest Color Range from 0 t0 255 Hexadecimal Values. Now, let’s have a look at converting Array into Image using Image Class.
i=Image.fromarray(A,"RGB")
As you have seen, Image Class Consists fromarray() Method which converts the given array to the specified Color Model(i.e. RGB Model).
Here, i is the Image Object created for the given Numpy Array. Let’s have a glance over Viewing or Showing the Image. It can be done by the show() method of Image Object. Consider the following Example
Example:
from PIL import Image
import numpy as np
w,h=512,512
t=(h,w,3)
A=np.zeros(t,dtype=np.uint8)
for i in range(h):
    for j in range(w):
        A[i,j]=[i%256,j%256,(i+j)%256]
i=Image.fromarray(A,"RGB")
i.show()
Output:
The output of the above code will be as follows
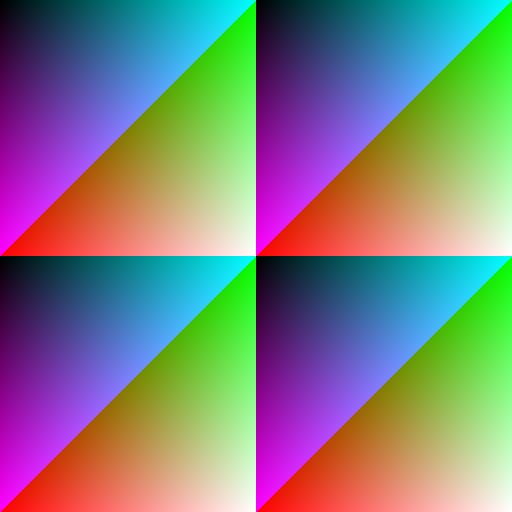
So, In this way, we can convert a Numpy Array into Image using PIL and Numpy.
When run in Jupyter Notebook this code, as written above, generates the following error:
TypeError Traceback (most recent call last)
in
4 t=(h,w,3)
5 A=np.zeros(t,dtype=np.uint8)
—-> 6 for i in range(h):
7 for j in range(w):
8 A[i,j]=[i%256,j%256,(i+j)%256]
TypeError: ‘numpy.ndarray’ object is not callable