Adding logic to the game part-1 day#9
 By K. Boopathi
Hello, guys welcome back today. We are at the final stage of our game. Today we going to see how to add logic to
our game. This article is part 1 of it.
- Introduction to react js
- Hello world in React JS day#1
- Components in React JS day#2
- Add style to components in React JS day#3
- State in React JS day#4
- Props in React day#5
- Handling events in React JS day#6
- Accessing DOM elements in React JS day#7
- Conditional rendering in React JS day#8
- Adding logic to the game part-1 day#9
- Adding logic to the game part-2 day#10
Adding logic to the game
let revise what are the things we do until now. We simply create Register and Player component and add some functionality to each component.
The thing we need to do are
- Displaying the weapons once the player registered.
- Allow the player to click any one weapon by adding an event listener to the weapon.
- Generate a random number to select the weapon for the bot.
- Find who is the winner.
In this article, we will see about the first two things next two things will cover in the next article.
Displaying the weapons once player registred
In the Weapon.js file write the following code
Weapon.js
import React  from 'react';

import "./Weapon.css";

//importing images

import rock from "./img/rock.png";
import paper from "./img/paper.png";
import scissor from "./img/scissor.png";

class Weapon extends React.Component
{
  constructor(props)
  {
    super(props);
  }
  render() {
    let imgsrc;
    if(this.props.weapon_name==="rock")
    {
      imgsrc=rock;
    }
    else if(this.props.weapon_name==="paper")
    {
      imgsrc=paper;
    }
    else
    {
      imgsrc=scissor;
    }
    return(
     		<div className={this.props.weapon_name}>
   			<img src={imgsrc} alt="weapon" />
     		</div>
     	    );
     	}

 }
Weapon.css
img
{
  height: 150px;
  width: 150px;
  margin: 10px;
  border-radius: 10px;
}
img:hover
{
  transform:scale(1.1);

}
@media (max-width:652px)
{
img
{
  height: 50px;
  width: 50px;
  margin:6px;
}
}
If you don’t understand don’t get panic I will explain everything.
We have three weapons (Rock, Paper, Scissors). So we need three components but it’s not advised to create a component for each weapon.
Instead, we can reuse the single Component for other weapons because the thing that differs for the 3 weapons is only the image to display. So we can pass the different image source as props to Weapon component by using the props Weapon component will decide which weapon need to display.
How to use an image?
To use an image first we need to import that image similar to we import CSS. So first we import the three images like below.
//importing images

import rock from "./img/rock.png";
import paper from "./img/paper.png";
import scissor from "./img/scissor.png";
Before that create img folder inside the Component and put the three images on it(You can get the images from Github repository I will give a link in the next article).
rpsbattle
└── src
    ├──components
    └────── img
    |    	└────── paper.png
    |    	└────── rock.png
    |    	└────── scissor.png
    └────── Header.js
    └────── Header.css
    └────── Register.js
    └────── Register.css
    └────── Player.js
    └────── Player.css
    └────── Weapon.js
    └────── Weapon.css
Next, we need to import the weapon in the Player Component, store weapons as an array that contains all the weapon names, and pass the props with different weapon names to that.
Player.js
import React from 'react';
import Weapon from "./Weapon.js";
import "./player.css";

class Player extends React.Component {
    constructor(props) {
        super(props);
        //weapons name
        this.weapons = ["rock", "paper", "scissor"];
    }

    render() {
        return (
          <div className = "weapon_container" >
             <Weapon weapon_name = {this.weapons[0]}/>
             <Weapon weapon_name = {this.weapons[1]}/>
              Weapon weapon_name = {this.weapons[2]}/>
          </div>
        );
    }
}
Player.css
.weapon_container
{
  display: flex;
  justify-content: space-around;
}
Now let’s back to Weapon Component in here we need to find the corresponding image for each weapon and render it. So we use conditional rendering.
let imgsrc;
if (this.props.weapon_name === "rock") {
    imgsrc = rock;
}
else if (this.props.weapon_name === "paper") {
    imgsrc = paper;
}
else {
    imgsrc = scissor;
}
This will choose the corresponding image for a weapon.
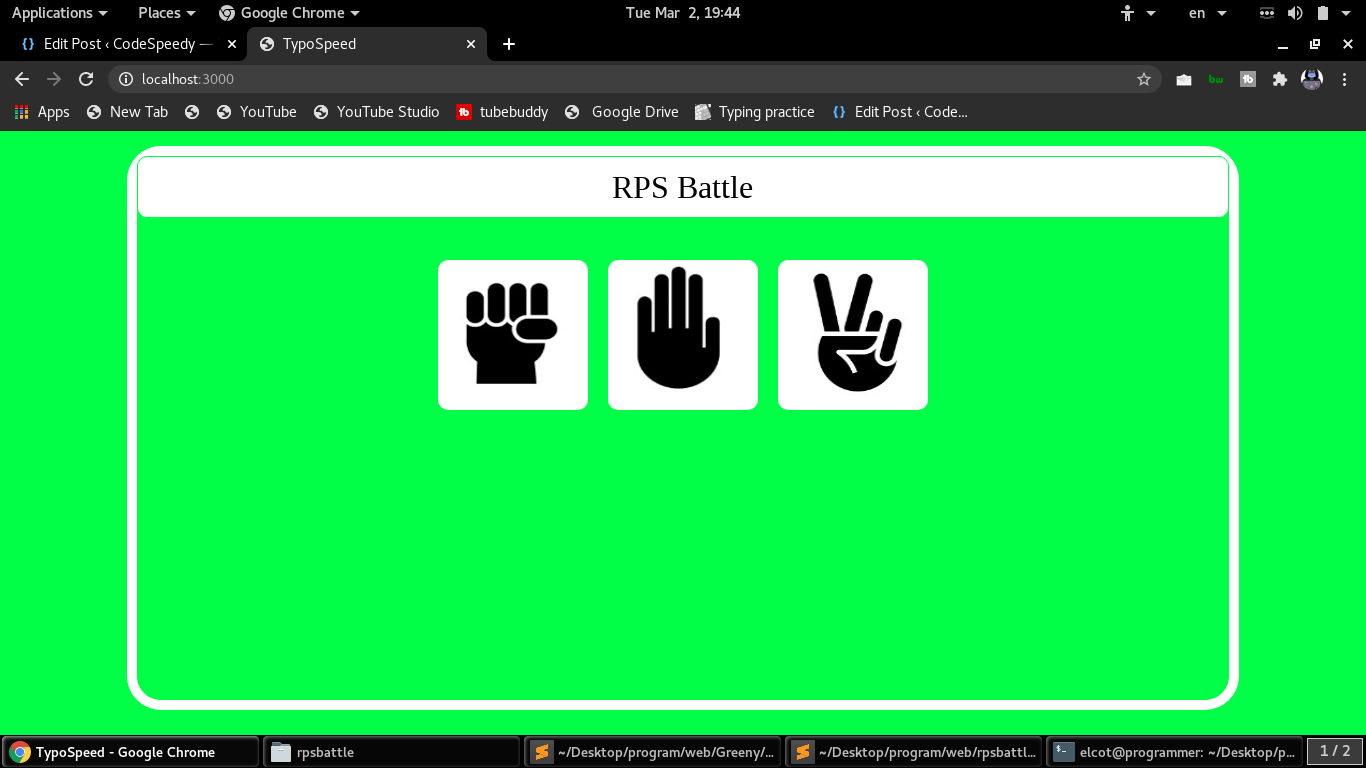
Save the code and run our code, register the player name and you will get the output similar to below.
Allow a player to click any one weapons
Next, we need to add an event listener for each weapon.
We going to define the listener in Player Component and pass the function reference to weapon Component as props.
import React from 'react';
import './palyer.css';
import Weapon from "./Weapon.js";

class Player extends React.Component {
    constructor(props) {
        super(props);
        //weapons name
        this.weapons = ["rock", "paper", "scissor"];
        //binding this
        this.playerClicked = this.playerClicked.bind(this);
    }
    //Event listener
    playerClicked(player_weapon) {
        console.log("Weapon:" + player_weapon);
    }

    render() {
        return (
               <div className = "weapon_container" >
                  <Weapon weapon_name = { this.weapons[0]} clicked = {this.playerClicked}/>
            	  <Weapon weapon_name = { this.weapons[1]} clicked = {this.playerClicked}/>
                  <Weapon weapon_name = { this.weapons[2]} clicked = {this.playerClicked}/>
               </div>
             );
    }
}
Attach the listener to each weapon in the weapon Component.
import React from 'react';

import "./Weapon.css";

//importing images

import rock from "./img/rock.png";
import paper from "./img/paper.png";
import scissor from "./img/scissor.png";

class Weapon extends React.Component {
    constructor(props) {
        super(props);
    }
    render() {
        let imgsrc;
        if (this.props.weapon_name === "rock") {
            imgsrc = rock;
        }
         else if (this.props.weapon_name === "paper") {
            imgsrc = paper;
        }
        else {
            imgsrc = scissor;
        }
        return (
            <div className = {this.props.weapon_name}  onClick = {() => { this.props.clicked(this.props.weapon_name)}}>
            	<img src = { imgsrc}  alt = "weapon" />
            </div>
        )
    }

}
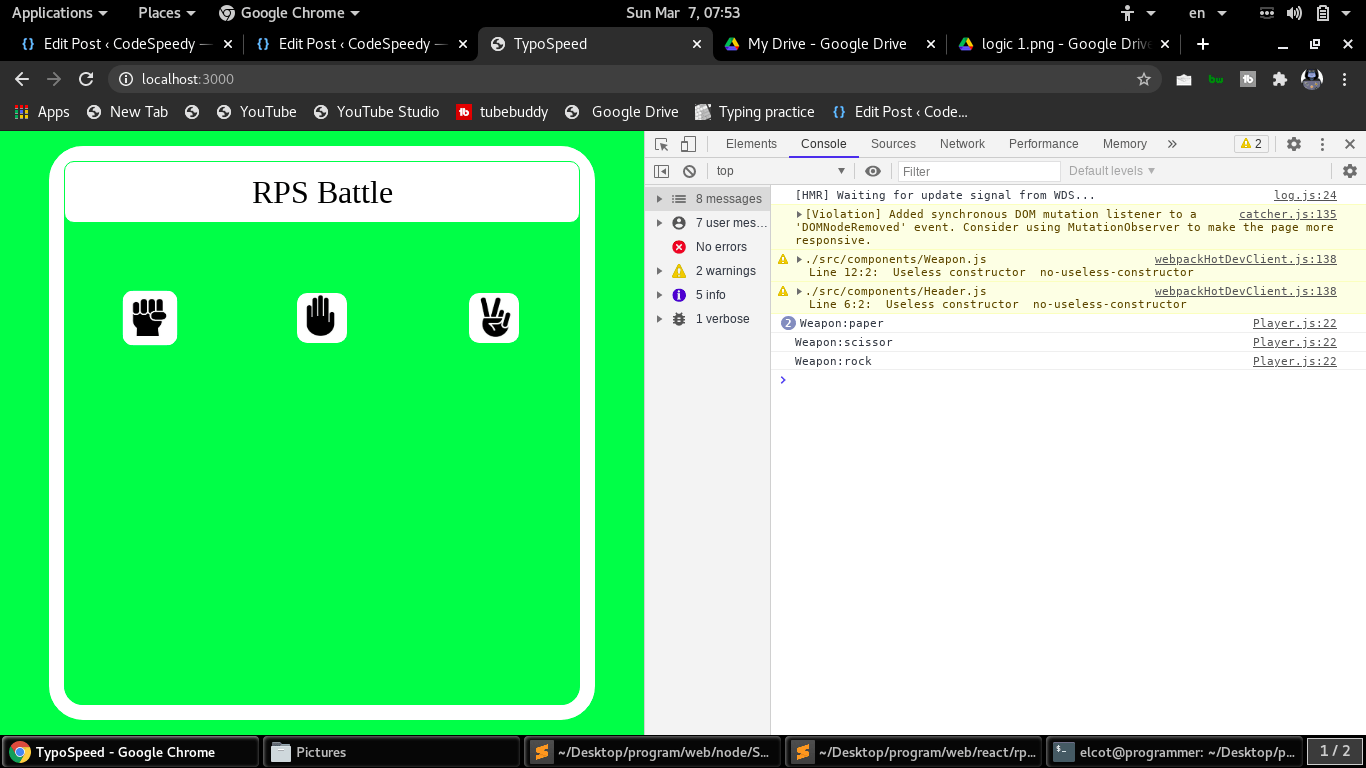
We pass the Weapon name to the listener so only we know which weapon is clicked.
Save the code and run it you will get the output in the console once you clicked the weapon.
Conclusion
Ok guys that’s enough for today. We learn how to add logic to our game in this article. In the next article, we see part-2 of it.
All the best guys for upcoming days keep learning.
Leave a Reply