Props in React day#5
 By K. Boopathi
Hello, guys welcome back today. In the previous article, we see a state in react. In this, we going to see about props in react. so let’s get started.
- Introduction to react js
- Hello world in React JS day#1
- Components in React JS day#2
- Add style to components in React JS day#3
- State in React JS day#4
- Props in React day#5
- Handling events in React JS day#6
- Accessing DOM elements in React JS day#7
- Conditional rendering in React JS day#8
- Adding logic to the game part-1 day#9
- Adding logic to the game part-2 day#10
Props in react
Props are stand for properties which used to communicate with the child component passing the argument to the child component using props. They are read-only so children cannot change the props value.
Note: Props are only allowed to pass from parent to child but not in reverse order.
Let’s understand with an example.
Now take our Register component it has a child component Player. Which used to display the weapons and has a logic for our games.
We going to pass the user name to the player component from the Register component when the user clicks the Register button.
But for this tutorial, we simply pass the user name to the player component because we still don’t cover handling events in react. We will see about that in the upcoming days.
First import the Player component in the Register component.
Register.js
import React from 'react';
import "./Register.css";

//we importing the player component
import Player from "./Player.js";

class Register extends React.Component
{
 constructor(props)
 {
  super(props);

  //at initial the player name is set as user1
  this.state={player_name:"user1"};
 }

 //return the input box and register button
 render()
 {
      return(
         <div>
              <div className="register_container">
                <input type="text" placeholder="Enter the player name.." className="player_name"/>
                <input type="button" value="Register" className="reg_button"/>
              </div>

              <Player />

         </div>
            );
 }
}
How to pass the props
The syntax to pass the props is
<ComponentName props_name=props_value/>
Register.js
import React from 'react';
import "./Register.css";

//we importing the player component
import Player from "./Player.js";

class Register extends React.Component
{
 constructor(props)
 {
  super(props);

 //at initial the player name is set as user1
 this.state={player_name:"user1"};

 }

 //return the input box and register button
 render() {
    return(
         <div>

          <div className="register_container">
            <input type="text" placeholder="Enter the player name.." className="player_name"/>
            <input type="button" value="Register" className="reg_button"/>
          </div>
          <Player player_name={this.state.player_name}/>
         </div>
         );
 }
}
How to access the props in children
To access simply use this.props.props_name.
Player.js
import React from 'react';

class Player extends React.Component
{
 constructor(props)
 {
   super(props);
 }
 render()
 {
   return(
           <div>
            <p>{this.props.player_name}</p>
           </div>
        );
 }
}
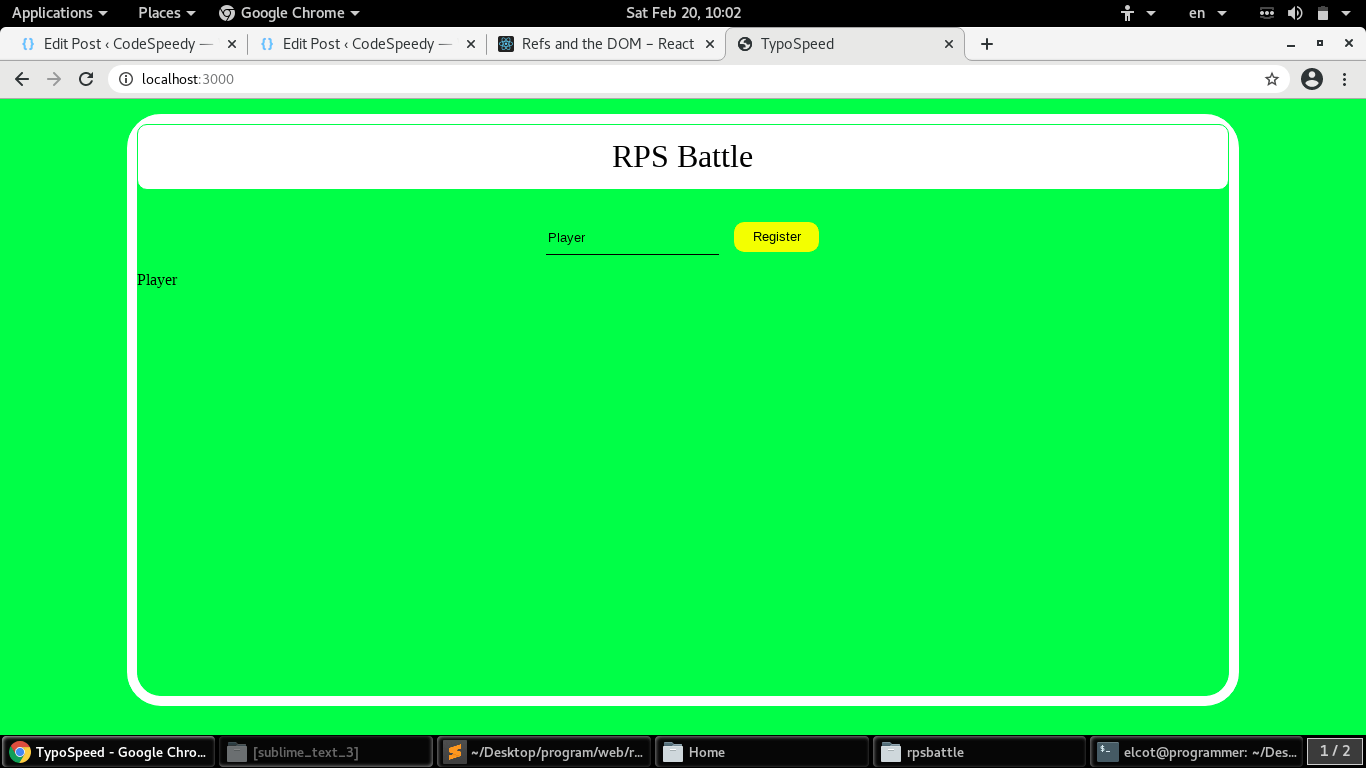
Save the code, run it and enter the player name next click the register button.
You will get output similar to the image given below.
The thing you need to know about props
- We can pass multiple props by using a single object like <component_name props_name= {{key:value,key:value}}/>.
- We can pass the parent function reference to the child such that the child can call that function.
Conclusion
Ok guys that’s enough for today. We learn props in react JS in this article. In the next article, we learn about handling events in react.
All the best guys for upcoming days keep learning.
Leave a Reply