How to host your Web Application on PythonAnywhere.com
 By Aayush Gupta
In this tutorial, we are going to learn how to host your local Python web application on an online server provider. We are going to use pythonanywhere.com in this tutorial.
Python Anywhere is a free hosting service to set up our blog application on the internet.
If you are interested to learn how to create web application using Python follow this below tutorial series link:
Django web application – simple blog website using Django tutorial
Signing Up on PythonAnyWhere
Visit pythonanywhere.com
Set up for a beginner’s account.
 When adding your username, keep in mind that your blog’s URL will take the form
 yourusername.pythonanywhere.com, so choose either your own nickname or a name for what your blog is all about.
Creating an API token – PythonAnyWhere
After creating your account, go to the Account section in the top right corner
then select the section “API token“, and press the button saying “Create new API token”.

Configuring Site on PythonAnyWhere
Come back to the main website and start a bash command line.

Python Anywhere provides a helper tool that pulls down your code from GitHub, and then configure it to start serving it as a web application.
To install it, run the command :
pip3.6 install --user pythonanywhere
Now, run the command to use the GitHub code on your profile and set it up :
pa_autoconfigure_django.py https://github.com/<your-github-username>/my_blog.git
Then, initialize a SuperUser for the website :
python manage.py createsuperuser
Hurray! The site is live now.
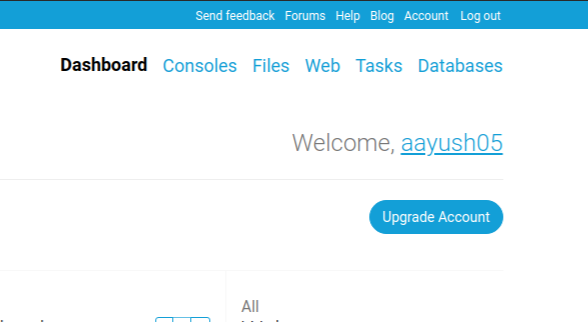
Click on the Web section to get a link to the website.
Hope! You have understood the procedure well enough.
Feel free to drop any doubts you face in the comments section below
Also, have a look at other posts :
Leave a Reply