Place VStack content to the left in SwiftUI
 By Saruque Ahamed Mollick
In this SwiftUI tutorial, I will show you how to place VStack content to the left instead of center in SwiftUI.
If you want a short and direct answer then here is the snippet:
.frame(maxWidth: .infinity, alignment: .leading)
            .padding(15)
I am not talking about the individual content alignment in VStack. The whole VStack is aligned centered by default and we have to use frame modifier to customize the alignment.
import SwiftUI

struct ContentView: View {
    var body: some View {
        VStack {
            Text("Hey there, I am in VStack")
        }
        // here you need to add frame modifier.
    }
}
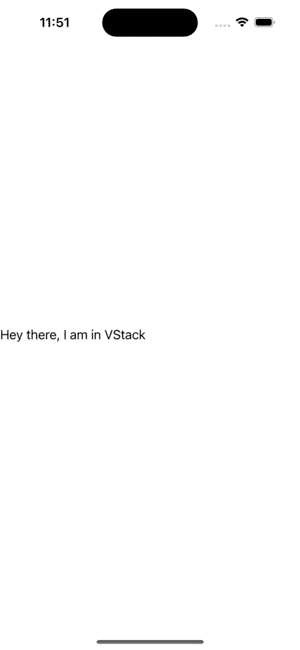
If you run this the output should be like this:

Using .frame modifier to align the whole VStack to the left of the screen in SwiftUI
Check the code below:
import SwiftUI

struct ContentView: View {
    var body: some View {
        VStack {
            Text("Hey there, I am in VStack")
        }
        // here you need to add frame modifier.
        .frame(maxWidth: .infinity, alignment: .leading)
    }
}
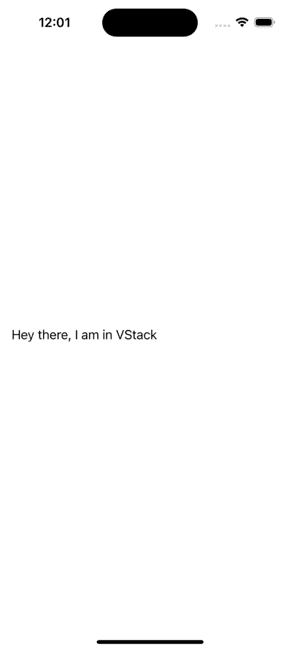
Output:
maxWidth is set to infinity here, but if you need to specify the maximum width then you can set it from here.
It’s the maximum width of the VStack content.
This method worked well and the content of VStack is placed to the left of the screen as expected.
But the content is at the left and there is no gap between the screen and the element which does not look right.
To fix this you can use padding if you wish.
import SwiftUI

struct ContentView: View {
    var body: some View {
        VStack {
            Text("Hey there, I am in VStack")
        }
        // here you need to add frame modifier.
        .frame(maxWidth: .infinity, alignment: .leading)
        .padding(15)
    }
}
Output:
If you want to place the VStack content to the right you can use the below:
.frame(maxWidth: .infinity, alignment: .trailing)
You can also learn Change spacing between VStack elements in SwiftUI
Leave a Reply