Create stepper and read values from it in SwiftUI
In this tutorial, we will see how to create a stepper and read values from it in SwiftUI.
We can simply increase or decrease a value like a counter by tapping buttons using the stepper. We can commonly use id to increase or decrease values like ages, quantities, or other numerical properties.
Now, follow the steps below to create a stepper in SwiftUI.
Create a simple stepper
We can create a simple stepper by using the Stepper view. First of all, I will create a state variable using the @State property to hold the stepper’s value.
Then I will bind the stepper value with the @State property. So, the Stepper will update the @State variable whenever its value changes.
Example
import SwiftUI

struct ContentView: View {

    @State private var Value = 8

    var body: some View {
        VStack {
            Stepper("Stepper Value: \(Value)", value: $Value)
        }
        .padding()
    }
}
Output:

We can also use a Text view to display the current value of the stepper. We can achieve this by dynamically inserting the state variable Value into the string within the Text view using string interpolation.
Example
import SwiftUI

struct ContentView: View {

    @State private var Value = 8

    var body: some View {
        VStack {
            Stepper("Stepper Value: \(Value)", value: $Value)
                .padding()

            // Text view to display the current value
            Text("The Value: \(Value)")
                .font(.title2)
        }
        .padding()
    }
}
Output:

Provide range
We can set the range of values that the stepper can accept using the in parameter within the Stepper view. It stops users from selecting values beyond the defined range.
Example
import SwiftUI

struct ContentView: View {

    @State private var Value = 4

    var body: some View {
        VStack {
            Stepper("Stepper Value: \(Value)", value: $Value, in: 0...6)
        }
        .padding()
    }
}
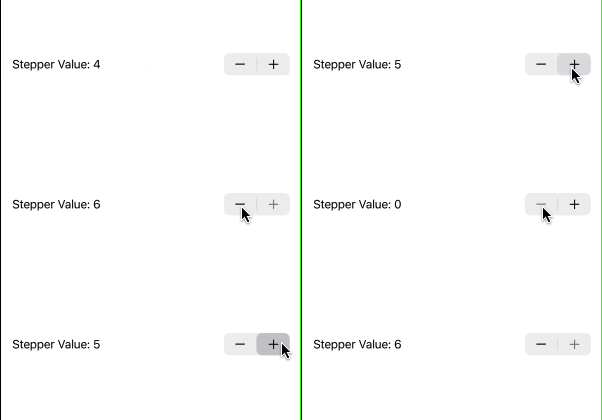
In the above program, within the Stepper view, I have used the in parameter and set the range from 0 to 6. So, the user can increment or decrement the value within this range.
Output:

Provide step size
We can also define the increment or decrement step size using the step parameter within the Stepper view. It basically specifies how much the value will change when we tap the plus or minus buttons on the stepper.
Example
import SwiftUI

struct ContentView: View {

    @State private var Value = 10

    var body: some View {
        VStack {
            Stepper("Stepper Value: \(Value)", value: $Value, in: 0...50, step: 5)
        }
        .padding()
    }
}
In the above program, I have set the step parameter to 5. So, when the user taps the plus or minus button on the stepper, it will increase or decrease by 5.
Output:

Customizing Stepper with Increment and Decrement Closures
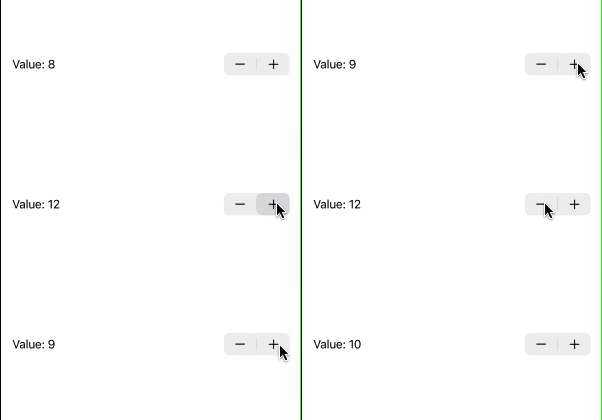
This is an alternative approach where we can use the custom onIncrement and onDecrement closures, instead of binding directly to a value. We can then define our preferred action within these closures to be executed when they are called.
These closures will be called when the user increments or decrements the stepper by tapping the buttons.
Example
import SwiftUI

struct ContentView: View {

    @State private var Value = 8

    var body: some View {
        VStack {

            Stepper("Value: \(Value)", onIncrement: {
                // This closure will execute and increment the value when the "+" button is tapped
                Value += 1

            }, onDecrement: {
                // This closure will execute and decrement the value when the "-" button is tapped
                Value -= 1
            })
        }
        .padding()
    }
}
Output:

Leave a Reply