Create a share sheet in SwiftUI
 By Samim
In this tutorial, we will see how to create a share sheet in SwiftUI.
The share sheet is like a menu that pops up on our phone or computer when we want to share something. Suppose we have a video, image, or link and we want to send it to our friend, we can do that easily by using the share sheet.
We can create a share sheet using the sheet modifier along with the UIActivityViewController to present the sharing options.
Follow the steps below to create a share sheet.
Create ContentView Struct
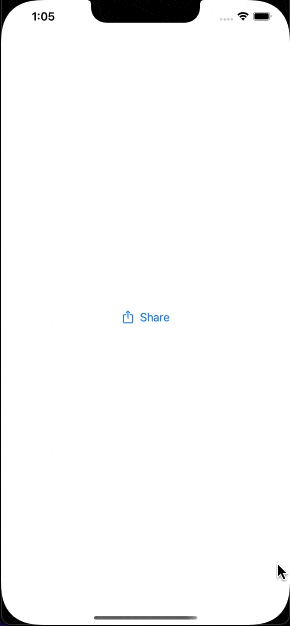
First of all, In the ContentView, I will create a button Share and when we click on that button a sheet will pop up with a bunch of options.
Example
struct ContentView: View {
    // State variable to manage the presentation of the share sheet
    @State private var isSharing = false

    // Content to be shared
    let contentToShare = "Share the Content"

    var body: some View {
        // Button triggering the share sheet
        Button(action: {
            self.isSharing.toggle() // Toggles the state to show/hide the sheet
        }) {
            Label("Share", systemImage: "square.and.arrow.up") // Button label with a system image
        }
        .sheet(isPresented: $isSharing) {
            // Presents the share sheet when isSharing is true
            ShareViewController(shareItems: [contentToShare]) // Passes the content to the ShareViewController
        }
    }
}
In the above code, I have declared the property isSharing to manage the presentation of the share sheet.
I have also declared a variable contentToShare to hold the content that we want to share.
Then, I have used the sheet modifier to make a sheet appear with some sharing options when users tap the Share button.
Create ShareViewController Struct
The ShareViewController struct conforms to UIViewControllerRepresentable. This will allow the integration of UIKit components (UIActivityViewController) into SwiftUI and enable the content sharing functionality within our app.
Example
struct ShareViewController: UIViewControllerRepresentable {
    let shareItems: [Any] // Items to share

    // Creates the UIActivityViewController to handle sharing
    func makeUIViewController(context: Context) -> UIActivityViewController {
        let activityViewController = UIActivityViewController(activityItems: shareItems, applicationActivities: nil)
        return activityViewController
    }

    // Updates the UIActivityViewController if needed (not used in this example)
    func updateUIViewController(_ uiViewController: UIActivityViewController, context: Context) {}
}
The UIViewControllerRepresentable protocol requires the makeUIViewController method. It will create and return a UIActivityViewController, which is a system-provided view controller used for sharing content through various services like AirDrop, Messages, Mail, etc.
Here is the complete code below.
import SwiftUI

struct ContentView: View {
    @State private var isSharing = false
    let contentToShare = "Share the Content"

    var body: some View {
        Button(action: {
                    self.isSharing.toggle()
                }) {
                    Label("Share", systemImage: "square.and.arrow.up")
                }
        .sheet(isPresented: $isSharing) {
            ShareViewController(shareItems: [contentToShare])
        }
    }
}

struct ShareViewController: UIViewControllerRepresentable {
    let shareItems: [Any]

    func makeUIViewController(context: Context) -> UIActivityViewController {
        let activityViewController = UIActivityViewController(activityItems: shareItems, applicationActivities: nil)
        return activityViewController
    }

    func updateUIViewController(_ uiViewController: UIActivityViewController, context: Context) {}
}
Output:
Leave a Reply