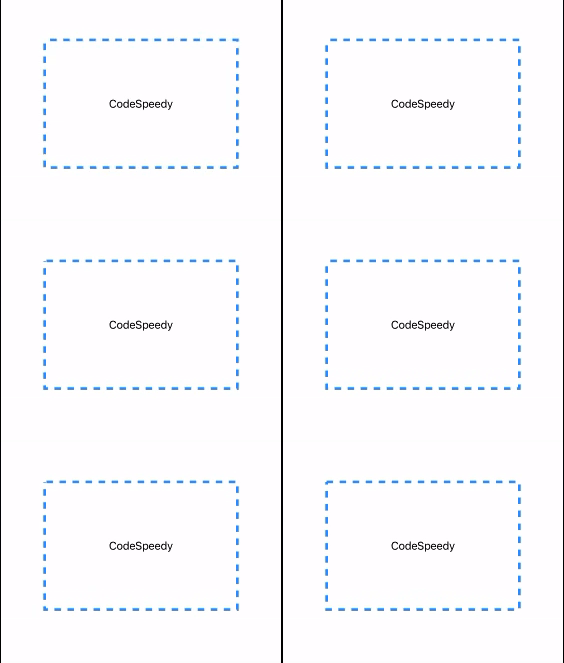
Create a marching ants border effect in SwiftUI
In this tutorial, we will see how to create a marching ants border effect in SwiftUI.
In SwiftUI, we can achieve a marching ants border effect by utilizing the strokeBorder modifier along with the dash and dashPhase parameters of the StrokeStyle. This effect is commonly used to indicate the selection of an object.
Here are some examples below to achieve this task.
Basic Dashed Stroke
First of all, I will create a basic dashed stroke using the strokeBorder modifier with a Rectangle and StrokeStyle.
Example
import SwiftUI

struct ContentView: View {
    var body: some View {
        Text("CodeSpeedy")
            .overlay(
                Rectangle()
                    //To create a dashed border with a line width of 4 and a dash pattern of [10]
                    .strokeBorder(style: StrokeStyle(lineWidth: 4, dash: [10]))
                    //To set the width and height of the Rectangle
                    .frame(width: 300, height: 200)
            )
    }
}
In the above program, the strokeBorder() modifier will configure the rectangle to have a dashed stroke border with a line width of 4 points and a dash pattern of 10. This means it will create a dashed effect with a 10-point stroke followed by a 10-point gap.
Output:

Adding Animation
We can use the dashPhase property and the withAnimation() to create a dashed border. The dashPhase property of StrokeStyle controls the starting position of the dash pattern. By manipulating this property within a @State variable and animating it using the withAnimation(), we can achieve the marching ants border effect.
Example
import SwiftUI

struct ContentView: View {

    // State variable to control the phase of the marching ants border
    @State private var phase = 0.0

    var body: some View {
        Text("CodeSpeedy")
            .overlay(
                // Rectangle used for the marching ants border
                Rectangle()
                    //Applying stroke with dashed effect based on the phase
                    .strokeBorder(style: StrokeStyle(lineWidth: 4, dash: [10], dashPhase: phase))
                    .frame(width: 300, height: 200)
                    // On the appearance of the view, start the linear animation of the marching ants
                    .onAppear {
                        withAnimation(.linear.repeatForever(autoreverses: false)) {
                            // Adjust the phase to create the marching ants effect
                            phase -= 20
                        }
                    }
            )
    }
}
The above code will display the text “CodeSpeedy” with a rectangular dashed border that continuously animates with a marching ants effect.
We can adjust the values for lineWidth, dash, width, height, and animation parameters to customize the appearance and animation duration as per our requirements.
Output:

Color and Opacity
We can change the color, and adjust the opacity of the stroke border by specifying the color and opacity parameters in the .strokeBorder modifier like below.
.strokeBorder(Color.blue.opacity(0.8) //Rest of the code)
Here, I have set the color to blue and specified the opacity to 0.8 that means 80% opacity.
Example
import SwiftUI

struct ContentView: View {

    @State private var phase = 0.0

    var body: some View {
        Text("CodeSpeedy")
            .overlay(
                Rectangle()
                    .strokeBorder (
                        Color.blue.opacity(0.8), // To change the color and adjust the opacity
                        style: StrokeStyle(lineWidth: 4, dash: [10],
                        dashPhase: phase)
                    )
                    .frame(width: 300, height: 200)
                    .onAppear {
                        withAnimation(.linear.repeatForever(autoreverses: false)) {
                            phase -= 20
                        }
                    }
            )
    }
}
The above code will display a blue-colored rectangular dashed border with an opacity of 80% that continuously animates with a marching ants effect.
Output:

Marching ants effect to a rounded rectangle
Similarly, as the above, we can use the RoundedRectangle with the cornerRadius parameter instead of the Rectangle view to create a marching ants effect with rounded corners.
Example
import SwiftUI

struct ContentView: View {

    @State private var phase = 0.0

    var body: some View {
        Text("CodeSpeedy")
            .overlay(
                // To Create a rounded rectangle shape
                RoundedRectangle(cornerRadius: 30)
                    .strokeBorder (
                        style: StrokeStyle(lineWidth: 4, dash: [10],
                        dashPhase: phase)
                    )
                    .frame(width: 300, height: 200)
                    .onAppear {
                        withAnimation(.linear.repeatForever(autoreverses: false)) {
                            phase -= 20
                        }
                    }
            )
    }
}
Output:

Leave a Reply