Detect Screen size or resolution in SwiftUI
In this SwiftUI tutorial, we’ll learn how to detect the screen size or resolution in SwiftUI. We can use UIScreen.main.bounds to detect the Screen Size or resolution. We can also use GeometryReader. GeometryReader is something that SwiftUI provides us for dealing with screen or container sizes. So we can use GeometryReader for detecting the screen size and it will automatically update its views according to the screen orientation.
What this blog will cover:
- how to detect screen size
- GeometryReader
Let’s see how we can use these both for detecting screen size or resolution in SwiftUI.
– UIScreen.main.bounds
struct ContentView:View{

    var size = UIScreen.main.bounds
    var body: some View{
        VStack{
            Image("moonlight")
                .resizable()
                .frame(width:size.width , height: size.height, alignment: .center)
      }
   }
}
As you can see, we can take the height and width of the screen using UIScreen.main.bounds.
UIScreen.main.bounds.width will give the width of the screen and UIScreen.main.bounds.height will give the height of the screen.
Output:

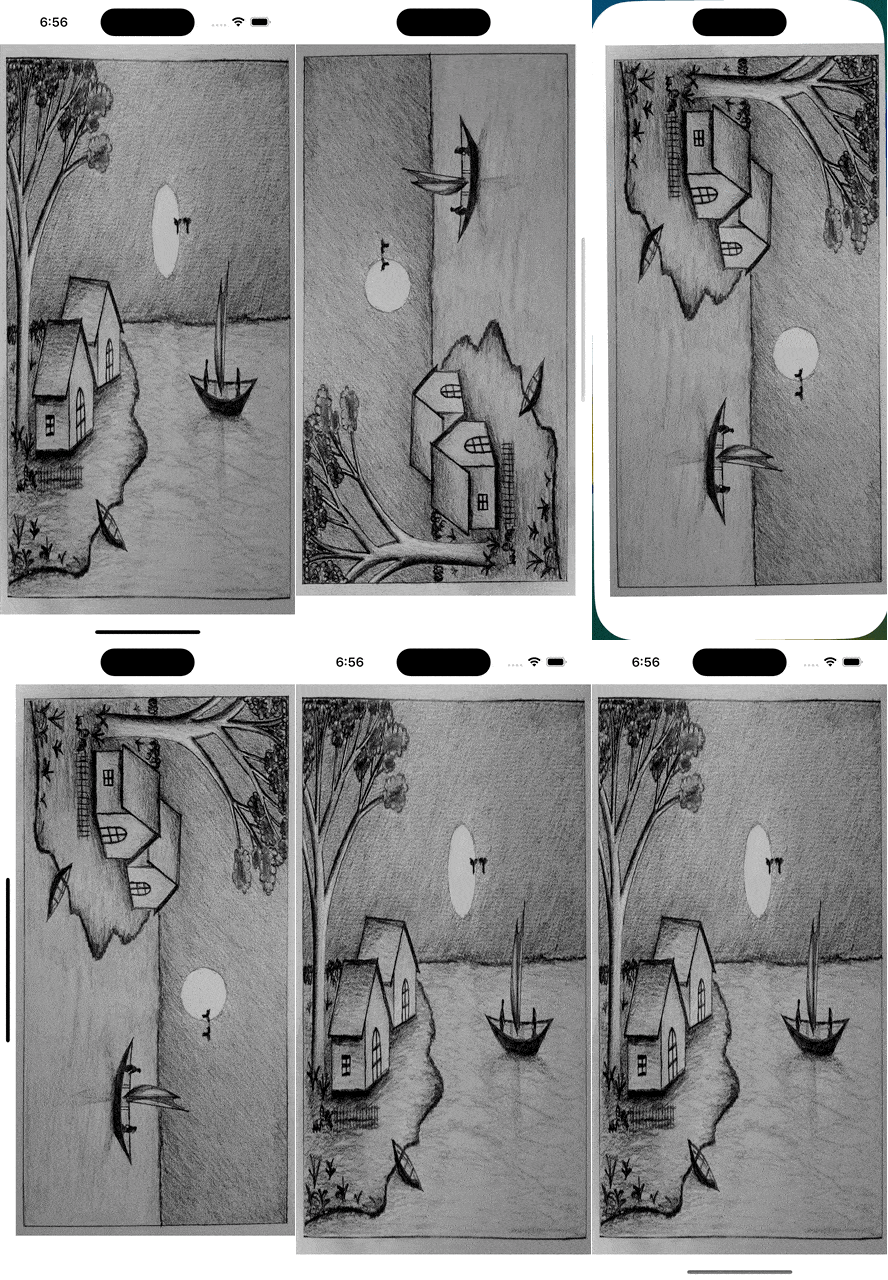
gif image, will start automatically
But UIScreen.main.bounds will give the height and width according to the current orientation of the screen. It will not update the size of the image when orientation changes.
– GeometryReader
struct ContentView:View{

    var body: some View{
        VStack{
            GeometryReader { geometry in
                Image("moonlight")
                    .resizable()
                    .frame(width: geometry.size.width, height: geometry.size.height, alignment: .center)
            }

        }
    }
}
So this is how you use a GeometryReader that SwiftUI provides us. The variable in the closure geometry gets updated whenever there is a change in screen orientation and it will update the view accordingly. We can get the width of the view by using geometry.size.width and height by using geometry.size.height.
Output:

gif image, will start automatically
Here as we can see the size of the image is updating with the screen orientation.
Leave a Reply