Change Texture dynamically in Unity with C#
 By Y SAI KIRAN
In this article, I will show how to change Texture dynamically using Unity with C#.
I will show you how to do this from the very beginning step by step.
Step 1: Create a 3D Object
First, create a 3D Object. To create a 3D sphere, right-click in the Hierarchy and choose “3D Object,” then select “Sphere.”

Sphere is successfully created.
Step 2: Create a Material
Create a material for the GameObject by right-clicking in the Assets window, then choose Create > Material.

Now Material is successfully created.
Step 3: Drag and Drop the material
Now, you have to drag and drop the created material to the marked place in the below image.

Step 4: Create a button
Now, create a button by right-clicking in the Hierarchy window, and select UI > Button-TextMeshPro.

Adjust your button according to your game.
Step 5: Create C# Script
Now create a C# script by right-clicking in the Assets window, and select Create > C# Script.
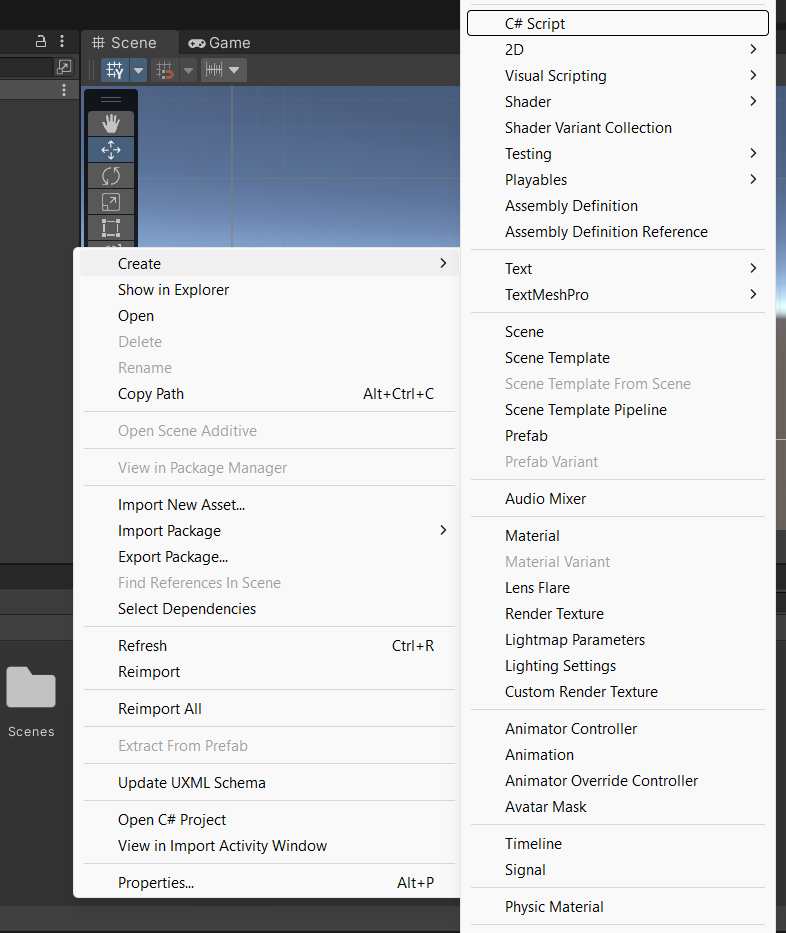
After creating the C# script, name it as ChangeTexture, and write down the code given below.
using System.Collections;
using System.Collections.Generic;
using UnityEngine;

public class ChangeTexture : MonoBehaviour
{
    public Renderer sphereRenderer;
    public GameObject sphere;
    [SerializeField] private Texture[] textures;
    private int randomTextureIndex;

    // Start is called before the first frame update
    void Start()
    {
        sphereRenderer = sphere.GetComponent<Renderer>();
    }

    public void ChangeSphereTexture()
    {
        randomTextureIndex = Random.Range(0, textures.Length);

        sphereRenderer.material.mainTexture = textures[randomTextureIndex];

    }
}
Step 6: Add Change Texture Script
Add the ChangeTexture script to the Button. Now go to the Inspector window, select Button > On Click () > +.

In On Click ()
- Select Object > Scene > Button.

- Function > ChangeTexture > ChangeSphereTexture() .

- Drag and drop the Sphere to the sphere renderer and sphere GameObject

- Select the texture you want to use and drop it into the Textures field

Now run the Scene.
Output:

Leave a Reply